Building Agile Pop-up Field Labs That Actually Work
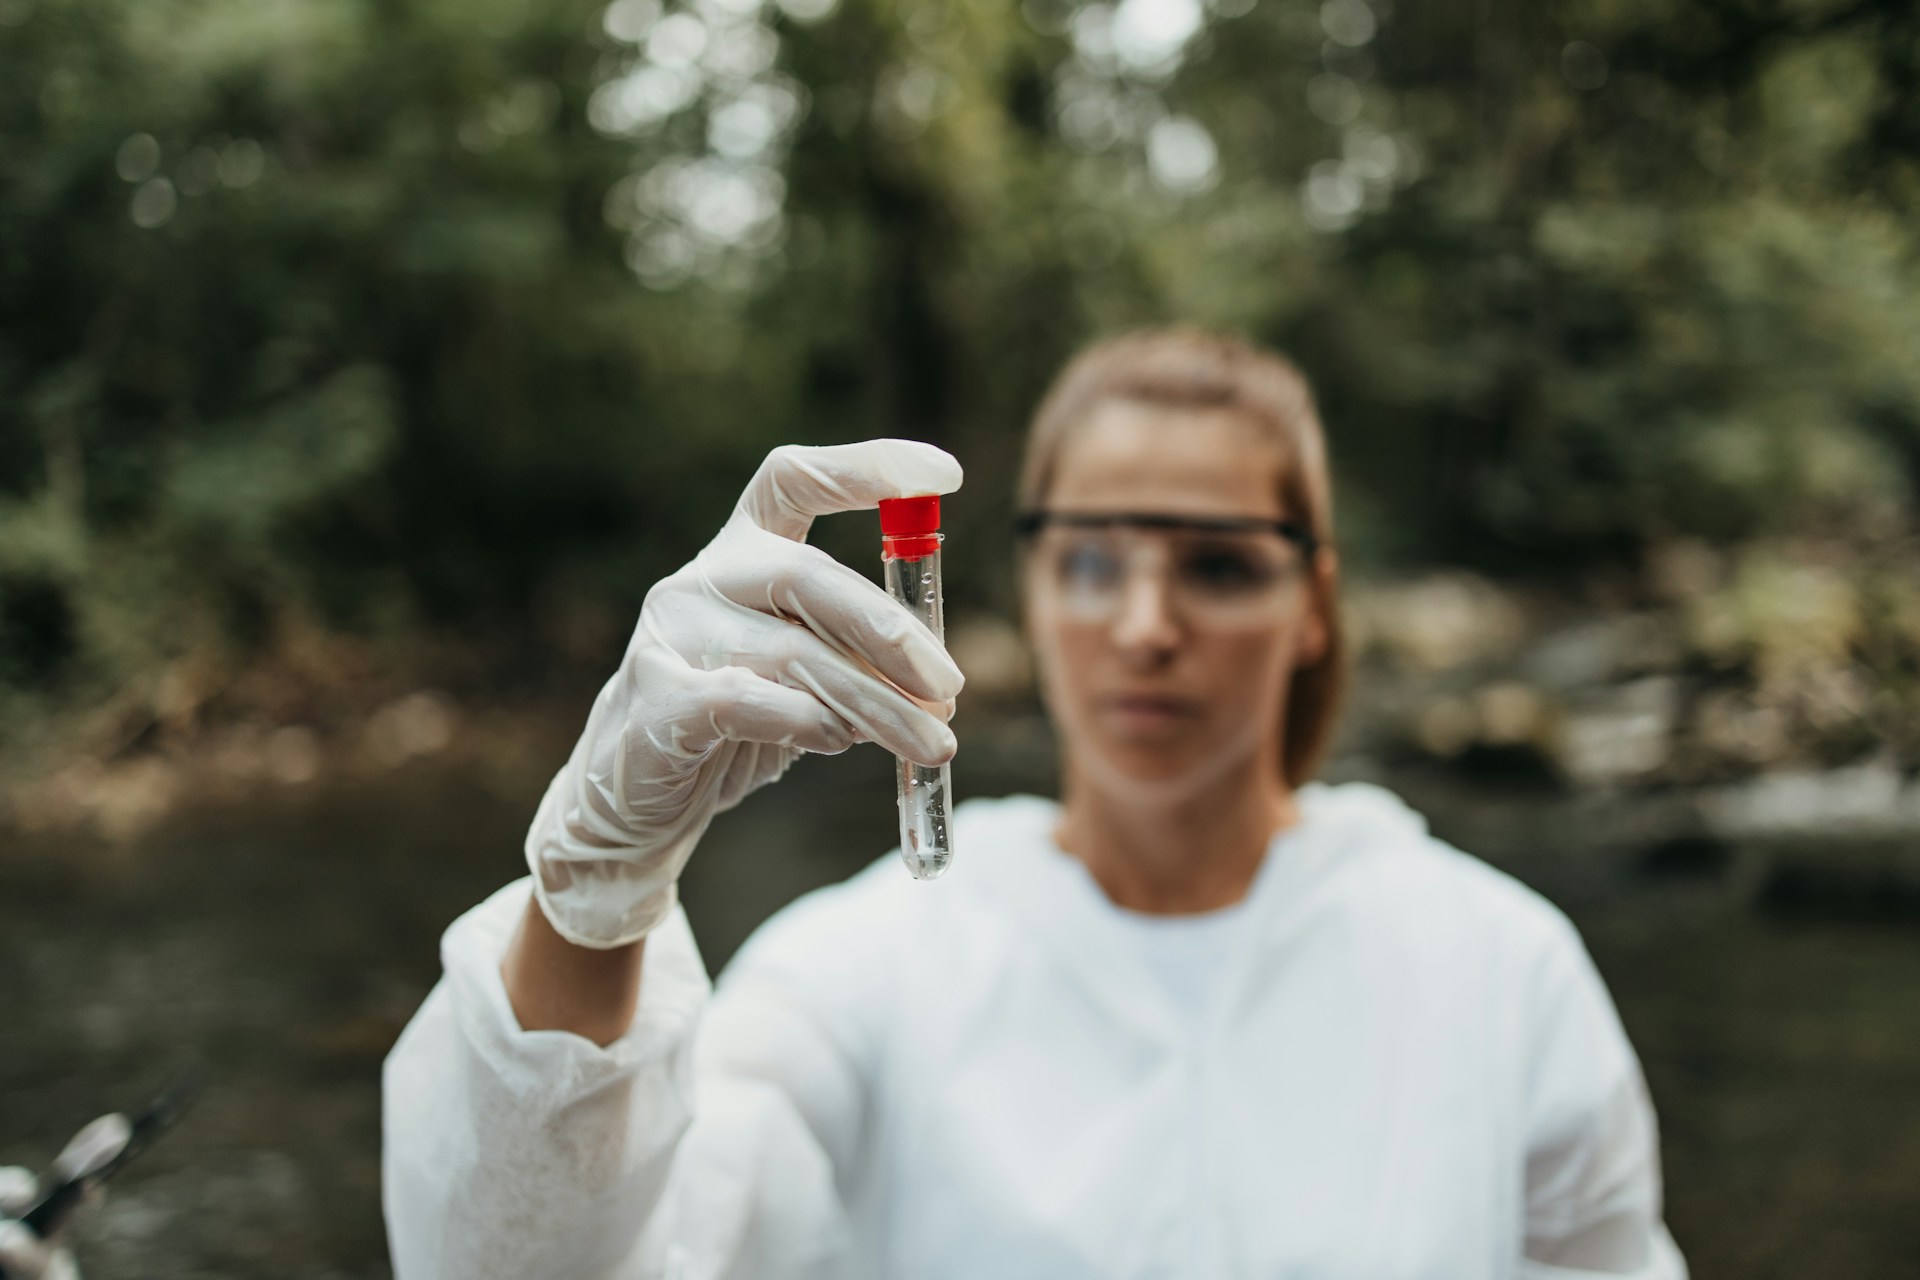
Pop-up field labs let you take the science to the sample instead of dragging every sample back to a fixed lab. They are temporary, mobile setups that can live in a ute canopy, a shed on a station, a mining camp room, a school bus, or a demountable by a creek. They are popular in Australian research, environmental monitoring, mining, agriculture, and education because they cut travel time and let you make decisions on site.
The catch is that a pop-up lab only works if your laboratory kits and apparatus are chosen with care. The wrong gear turns into broken glass, dead batteries, and data you cannot trust. The right gear gives you a steady, repeatable workflow in places that are cold, windy, dusty, or very wet. Mid-winter fieldwork in July brings short days, low temperatures, and sudden weather changes, so smart kit choices matter for safety, sample integrity, and the sanity of the whole team. As a local Australian supplier, we understand how compliance, climate, and logistics shape what actually works in the field.
Clarifying Your Field Testing Goals Before You Buy
Before anyone grabs a catalogue, it helps to be very clear about what you are testing. Your goals decide which laboratory kits and apparatus earn a place in the vehicle and which can stay back at base.
Start by defining your main tasks, such as:
- Water quality checks on rivers, dams, or bores
- Soil nutrients or salinity on farms or mine sites
- Food microbiology in prep rooms or teaching spaces
- On-site clinical-style screening in remote communities
- Air, dust, or surface sampling in sheds, factories, or classrooms
Once you know the purpose, you can match the measurement needs by working through a few practical questions. Consider what detection limits you need, how fast results must be turned around, and how much sample you will collect in a day. These answers affect whether you carry portable meters or full instruments like spectrophotometers, what balance capacity you need, whether a small incubator is required, and what power draw is realistic. They also guide consumables, including the size of sample bottles, filtration units, sterile swabs, or culture media formats.
Regulatory and QA/QC expectations should be part of the planning from the start. If you work under NATA requirements, follow APVMA guidance, or meet specific environmental or food safety rules, you will likely need:
- Certified consumables where required
- Calibration standards and buffers that match your methods
- Documentation tools that support clear, traceable records
That might mean adding field notebooks, printed forms, or digital templates to your kit list, not just the obvious glassware and gadgets.
Choosing Laboratory Kits and Apparatus for Mobile Setups
Once your goals are clear, you can build a core toolkit that suits a pop-up lab, not just a bench in a building.
For measurement gear, many teams find a solid base in:
- Portable pH and conductivity meters with spare probes
- Handheld spectrophotometers or colorimeters for routine tests
- Compact balances with shielded pans
- Thermometers, IR guns, or probe thermometers
- Data loggers for temperature and sometimes humidity
Look for rugged, battery-powered models that cope with dust, vibration, and temperature shifts common in Australian fieldwork, from cold southern mornings to warm afternoons inland.
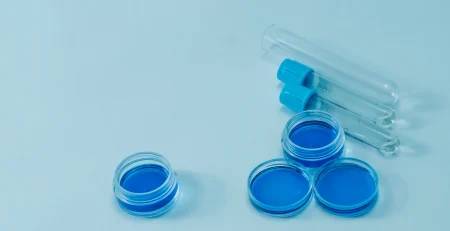
For glassware and plasticware, it helps to be practical rather than traditional. Field kits often lean on plastic because it is lighter and less fragile. Many people still carry some glass, but they pack it very carefully. Depending on your work, you might include:
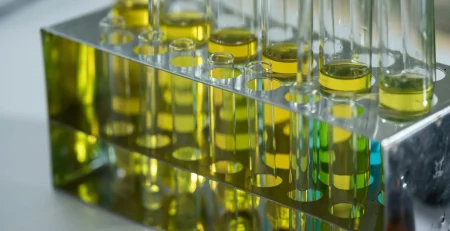
- Test tubes, beakers, conical and volumetric flasks
- Pipettes and tips, including simple transfer pipettes
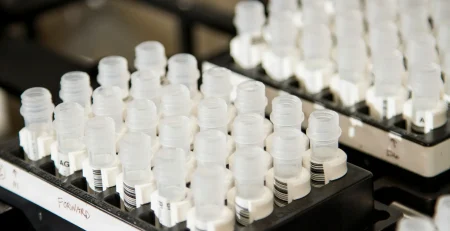
- Sample vials and microtubes
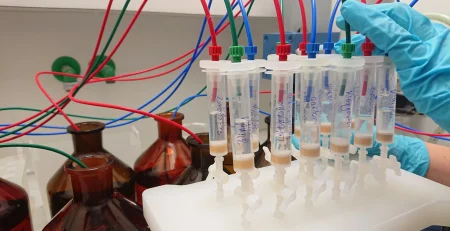
- Filtration units and syringe filters
- Sterile bottles and containers for microbiology or clean sampling
Plastic is usually the better choice when you are walking over rocks, working on boats, or driving on corrugated tracks. Glass can be kept for tests that truly need it, stored in foam inserts or padded cases.
Then there are the small items that quietly make or break fieldwork. In practice, teams run more smoothly when they standardise consumables, label systems, and safety basics so the setup is repeatable no matter where it is rebuilt. Items that commonly matter include:
- Stable reagent formats, like tablets or powders where possible
- Calibration buffers and standards in sensibly sized bottles
- Gloves, wipes, lab coats, and other PPE
- Waterproof labels, markers, and tape
- Waste containers for general and chemical waste
- First aid supplies and spill control kits
Curated bundles designed for education, environmental work, or industry-specific tasks can save planning time and reduce the risk of forgetting critical pieces. These kits pull together compatible laboratory kits and apparatus so your setup feels like a system, not a random box of gear.
Designing for Field Durability, Safety, and Power Constraints
How your lab travels and lives in the field is just as important as what goes in it. The goal is to reduce breakage, keep sensitive items stable, and make set up fast and consistent across changing locations. Housing and transport solutions might include:
- Rugged cases with foam cut-outs for delicate instruments
- Insulated eskies for reagents and temperature-sensitive samples
- Bench-in-a-box units that fold out to form a clean worktop
- Extra padding for anything that will sit in the back of a ute on unsealed roads
Power planning often gets tested hardest in winter. Shorter daylight hours, cold starts, and more time under cloud mean you cannot rely on ideal solar conditions. When choosing instruments, prioritise:
- Low power draw or dual power options (mains and battery)
- Rechargeable battery packs and spare sets
- Thoughtful use of in-vehicle inverters or small generators
It can help to map your daily energy use, even roughly, so you do not end up choosing between running an incubator and charging meters.
Safety in temporary spaces is non-negotiable. Whether you are working in tents, sheds, or converted rooms, the best results come from treating the space like a real lab: controlled storage, clear separation of tasks, and simple systems that prevent errors when the team is tired or the weather turns. Good practice includes:
- Clear containment for acids, bases, and solvents
- Proper sharps containers for needles or broken glass
- Spill kits suited to chemicals on site
- PPE such as gloves, safety glasses, and lab coats or aprons
- A simple layout that separates clean and dirty zones
Tape on the ground, labelled tubs, and consistent setup rules can keep things safer, even when the lab is rebuilt in a new spot every week.
Keeping Sample Flow and Data Capture Under Control
A tidy sample pathway is the heart of any field lab. From the moment a sample is taken to the point where results are reported, you want as few chances as possible for mix-ups.
It helps to think through each step and make it repeatable from trip to trip:
- Collection in the right bottles or vials
- Immediate labelling before anything goes in an esky
- Chilling in coolers or portable fridges if needed
- Set positions on racks or trays while tests are running
- Timers to keep incubations and reactions consistent
For data and labels, paper still works very well as long as it is weather-friendly. Many teams combine:
- Pre-printed or pre-numbered labels
- Waterproof markers and pencils
- Clipboards with plastic sleeves
- Tablets or laptops loaded with simple spreadsheet or LIMS-style templates
To keep data quality high, even with wind and rain around, build in a few habits that make errors less likely and results easier to defend later:
- Field blanks and duplicates for key tests
- Daily or per-session calibration routines
- Short checklists for each test kit so no step is skipped
- Correct storage for reference materials, which often means thinking about colder July nights and avoiding freeze damage
These small touches pay off when you get back to base and need to trust every result.
Planning, Packing, and Partnering for Your Next Field Season
Good pop-up labs rarely come together at the last minute. A simple planning framework can keep everyone calm before the next winter field run:
- Define your objectives and the decisions your data will support
- List the tests required and the standards that apply
- Map likely conditions, from temperature and light to access to power and water
- Select laboratory kits and apparatus that fit these limits
- Test the setup in a mock field run in a shed, classroom, or carpark
From there, standard packing lists and replenishment schedules make life easier. When you know exactly how many gloves, vials, and buffer bottles a trip will use, it is much quicker to restock and get ready for late winter and early spring field peaks.
At LabChoice Australia, we focus on practical labware and instruments that fit Australian testing and analytical workflows, both indoors and out in the field. Our team is here to help you match kit combinations to your samples, locations, and compliance needs, so your next pop-up lab feels like a trusted extension of your main lab, not a compromise.
Equip Your Lab With Reliable Tools That Deliver Results
Whether you are setting up a new lab or upgrading an existing workspace, we can help you choose the right mix of quality gear to suit your protocols and budget. Explore our curated range of laboratory kits and apparatus to streamline workflows, support compliance and improve consistency in your results. At LabChoice Australia, we work closely with you to match equipment to your applications, so you can focus on your research with confidence.