Build Safer Setups with Smarter Stand Loading
Safe retort stands are not just about good glassware skills; they are about smart loading and balance. When labs across Australia head into the busy spring term, stands start filling up with condensers, funnels, burettes and all the extra bits that hang off them. That is when small mistakes with clamp placement can turn into broken glass, spills or burns.
In teaching labs, research spaces, and industry labs, we ask a lot from simple laboratory stands and rings. Even good quality gear can tip if it is set up poorly. In this guide, we walk through how loads, torque and centre of gravity work on a stand, then apply that to reflux, filtration and titration rigs so staff and students can build safer setups every time.
Understanding Loads, Torque and Centre of Gravity
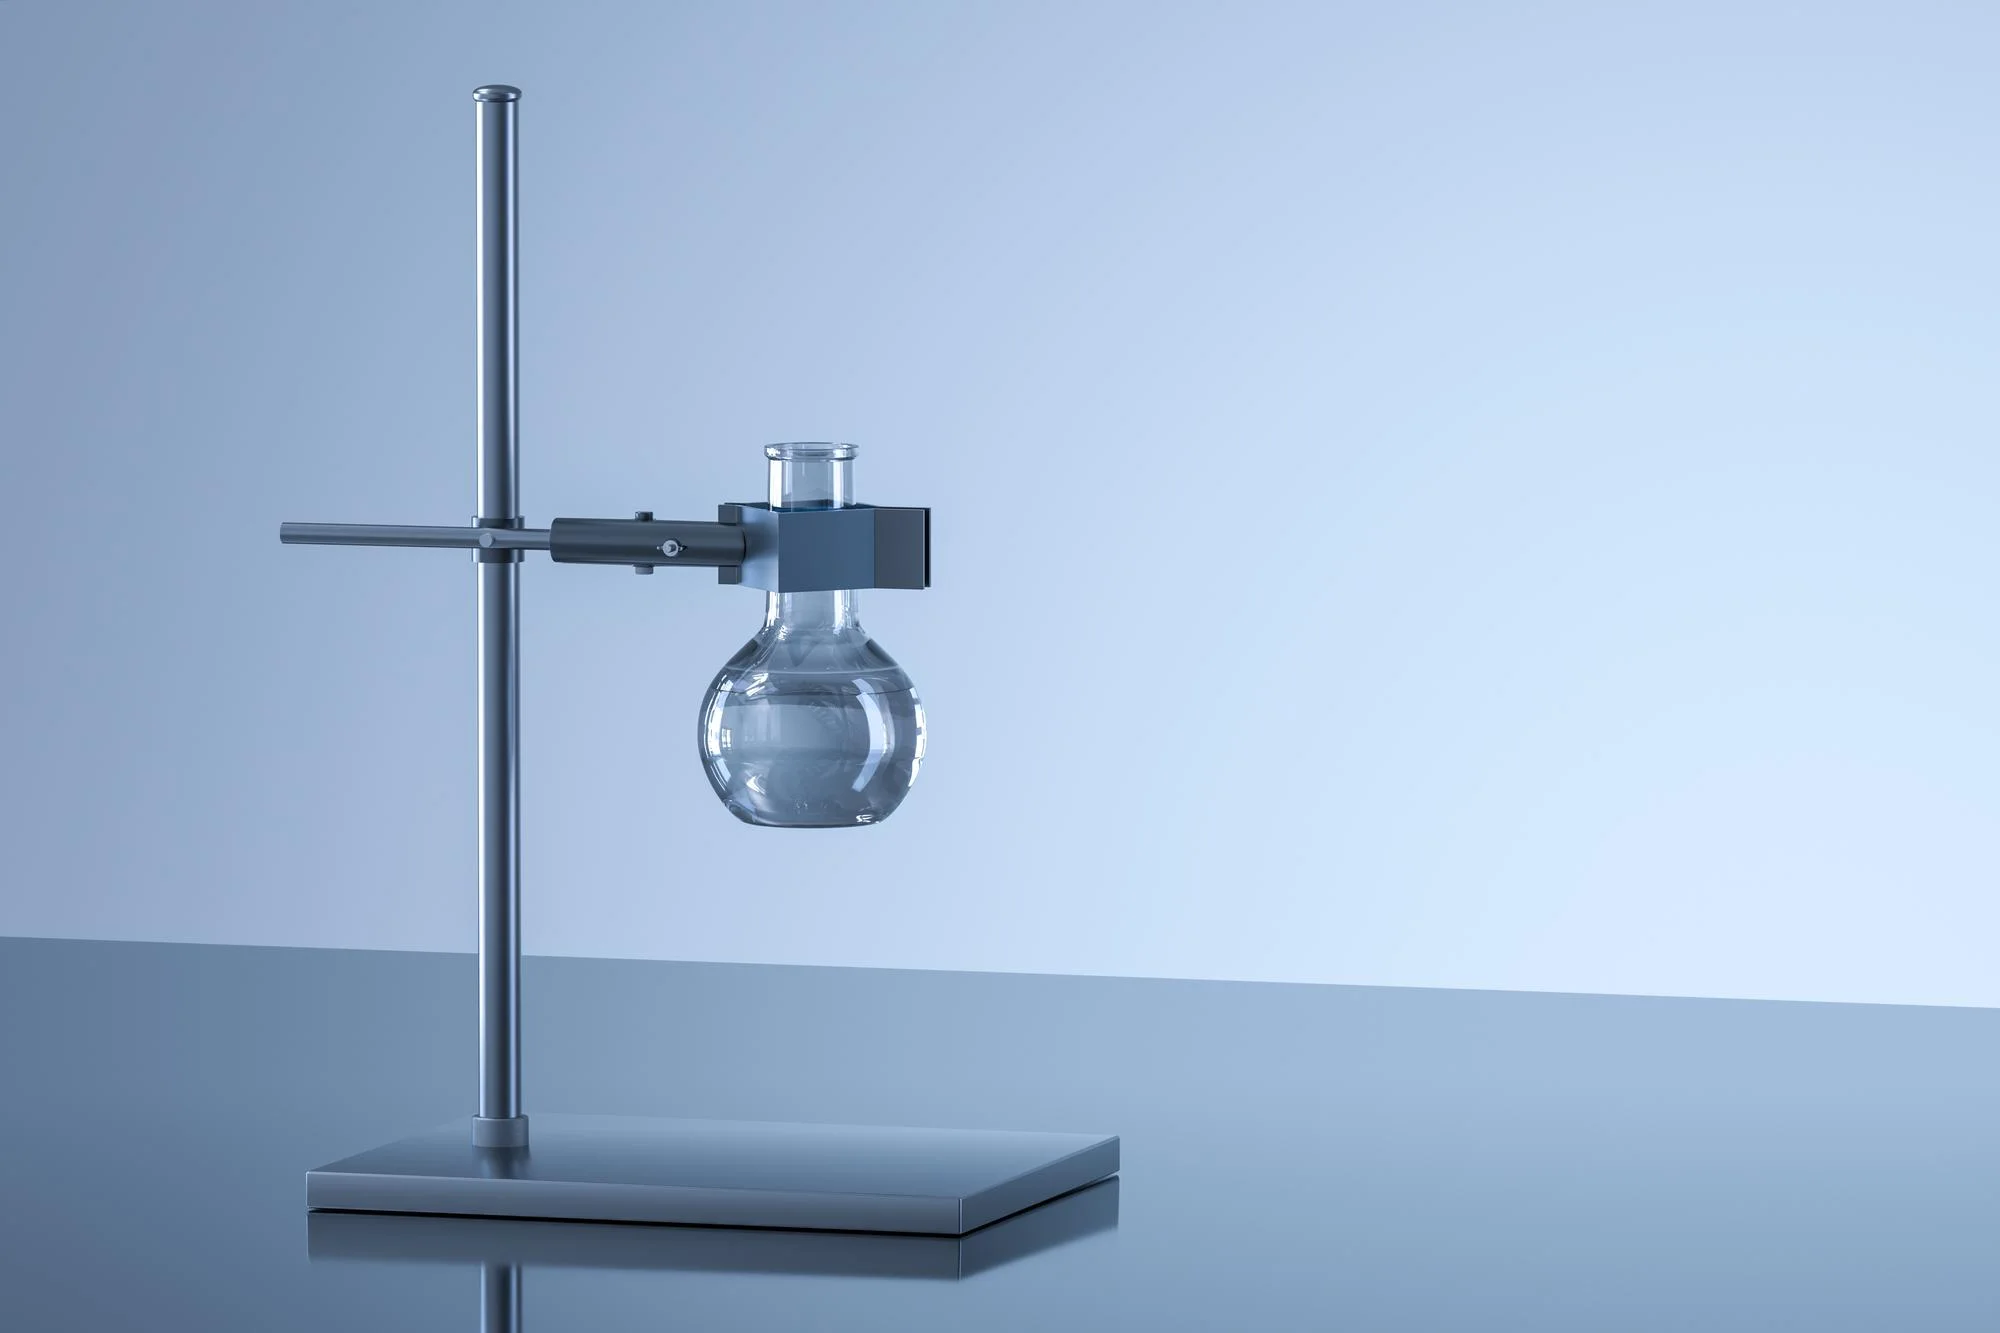
Let’s start with a simple picture. A retort stand has a base, a vertical rod and then rings or clamps that reach out and hold gear. Gravity pulls everything straight down. Torque is what you get when that downward pull is off to one side of the base and tries to twist the stand over.
Key ideas in plain terms:
- Vertical load: how heavy the setup is
- Torque: the turning force when that weight sits away from the centre of the base
- Centre of gravity: the imaginary point where all the weight of the setup balances
Move a clamp a few centimetres out from the rod or higher up the stand and you change the torque. The same flask can be safe when it is low and close in, but risky when it is high and out on a long arm. Side mounting, like having all the glassware sticking out to one side of the rod, also increases tipping risk.
The base matters a lot too. A heavy cast iron base with a wide footprint is harder to tip than a light, narrow base, especially on crowded benches where stands get bumped or hoses are pulled. On smooth lab benches, weight and width both help keep things steady.
Some handy rules of thumb:
- Keep the overall centre of gravity over the middle third of the base
- Keep heavy items as low as you reasonably can
- Avoid long unsupported arms or big side loads on one clamp
- When in doubt, bring the load closer to the rod or add a second stand
Safe Clamp Placement for Reflux and Distillation Rigs
Reflux and distillation setups are some of the trickiest loads we put on stands. A typical small rig might have a round-bottom flask in a heating mantle, a vertical or angled condenser, adapters, hoses and maybe a receiver. That is a fair bit of mass, often hanging off one stand.
To keep these rigs stable:
- Support the flask from below with a ring, cradle or lab jack so the stand is not holding all the weight alone
- Use one stand for the flask and mantle and a second stand for the condenser when you can
- Keep the main joints and bulk of the glassware close to the rod and above the centre of the base
- Use two clamps on a long condenser, one near each end, instead of one clamp in the middle acting like a seesaw
Cantilever loading shows up clearly here. If the flask and condenser stick far out from the rod, the torque on the base increases. Pull them back in so the glassware almost lines up with the rod, and the tipping risk drops quickly.
Hoses and cables can quietly ruin a safe setup. Cooling water lines that hang over the edge of the bench, electrical leads from hot plates and mantles and drip lines can all tug sideways. Good habits help:
Run hoses so they fall gently and do not pull on the condenser
Keep hoses and cables short enough that they do not snag passing sleeves or bags
Avoid routing lines so they drag across the stand base and twist it when someone moves equipment
Filtration, Funnels and Ring Supports Without the Wobble
Filtration setups seem simple, but they often sit high and get knocked around by pumps or tapping. Common rigs include Buchner funnels on vacuum flasks, gravity funnels over beakers and separatory funnels sitting in rings.
Safer ring and clamp placement looks like this:
- Place the ring at or just below the funnel stem, so the weight sits directly on the ring
- Add a light clamp on the funnel neck or stem for side stability if needed
- Keep the whole assembly as low as bench space and glassware size allow
- Use a separate stand if you are tempted to stack an extra heavy flask or extra funnel above the first one
Vacuum filtration brings vibration and movement into the mix. Pump pulsing, bench vibration or tapping the funnel can shake a tall, offset setup enough to walk the base or rattle clamps loose. To cut down the wobble:
Use wider, heavier bases for vacuum filtration, especially with larger Buchner funnels
Position the flask so its centre sits close to the rod, not far off to the side
Keep hose runs tidy and supported so the pump does not pull the stand
Consider two stands for tall separatory funnels or big volume setups, one for the funnel, one for the receiver
Burettes, Titration Rigs and Everyday Torque Checks
Titration rigs in teaching labs often run tall and tight, with single or double burette clamps and students packed along the same bench. These assemblies can get top heavy, and small side pushes from turning stopcocks can rock a stand.
To keep burettes steady:
- Choose heavy bases for tall stands, especially for double-burette clamps
- Line the burettes up so the rod sits directly behind them, not offset to one side
- Keep the clamp arms as short as possible so the burettes sit close to the rod
- Space stands so students are not reaching over someone else’s setup
Counterweighting can help in some cases. If a double-burette clamp must sit slightly off centre, a sandbag or extra weight on the far side of the base can pull the centre of gravity back over the middle of the stand. Another option is to add a second stand on the other side of the burettes and share the load.
For everyday torque management across reflux, filtration and titration, simple checks go a long way:
- Give the stand a gentle push at the top before starting; if it rocks easily, rethink the setup
- Look down from above and check that most of the load sits over the middle of the base
- Recheck all bossheads and clamps for tightness after you adjust height or position
- Lower tall setups when students finish readings or when you step away
The right choice of laboratory stands and rings makes these habits easier. Matching base size, rod height and clamp style to the job helps keep the centre of gravity where it belongs, especially as lab timetables get busier in late winter and spring.
Upgrade Your Stand Safety Before the Next Term Starts
Before the next teaching block or research push, it is worth giving your stands an honest look. Check for corroded bases, bent rods, worn bossheads that no longer grip cleanly or rings that sag under load. Retiring old gear and replacing it with stable, well matched parts makes every reflux, filtration and titration rig easier to set up safely.
Simple loading and torque rules can be built into lab inductions and student worksheets so good habits grow early. Things like keeping heavy items low, using two stands for awkward glassware and checking balance before turning on heat or vacuum can be part of normal lab practice. At LabChoice Australia we focus on supplying laboratory stands and rings, bases, clamps and accessories that support these safer configurations for education, research and industry labs across the country, from city campuses to regional sites.
Get Started With Your Project Today
Equip your lab with reliable laboratory stands and rings that support accurate, repeatable results. At LabChoice Australia, we help you match the right hardware to your glassware, workspace and safety requirements so your team can work with confidence. If you would like tailored advice for your setup or a bulk order, simply contact us and we will be happy to help.