Stop Losing Samples to Evaporation in Your PCR Workflow
Evaporation in PCR plates is one of those quiet problems that can ruin a whole run. A tiny bit of volume loss might not look like much, but it can shift Ct values, upset your controls, and leave you wondering if your data is actually telling the truth. When winter hits in Australia and respiratory testing, flu panels and surveillance work all ramp up, those small problems can quickly snowball.
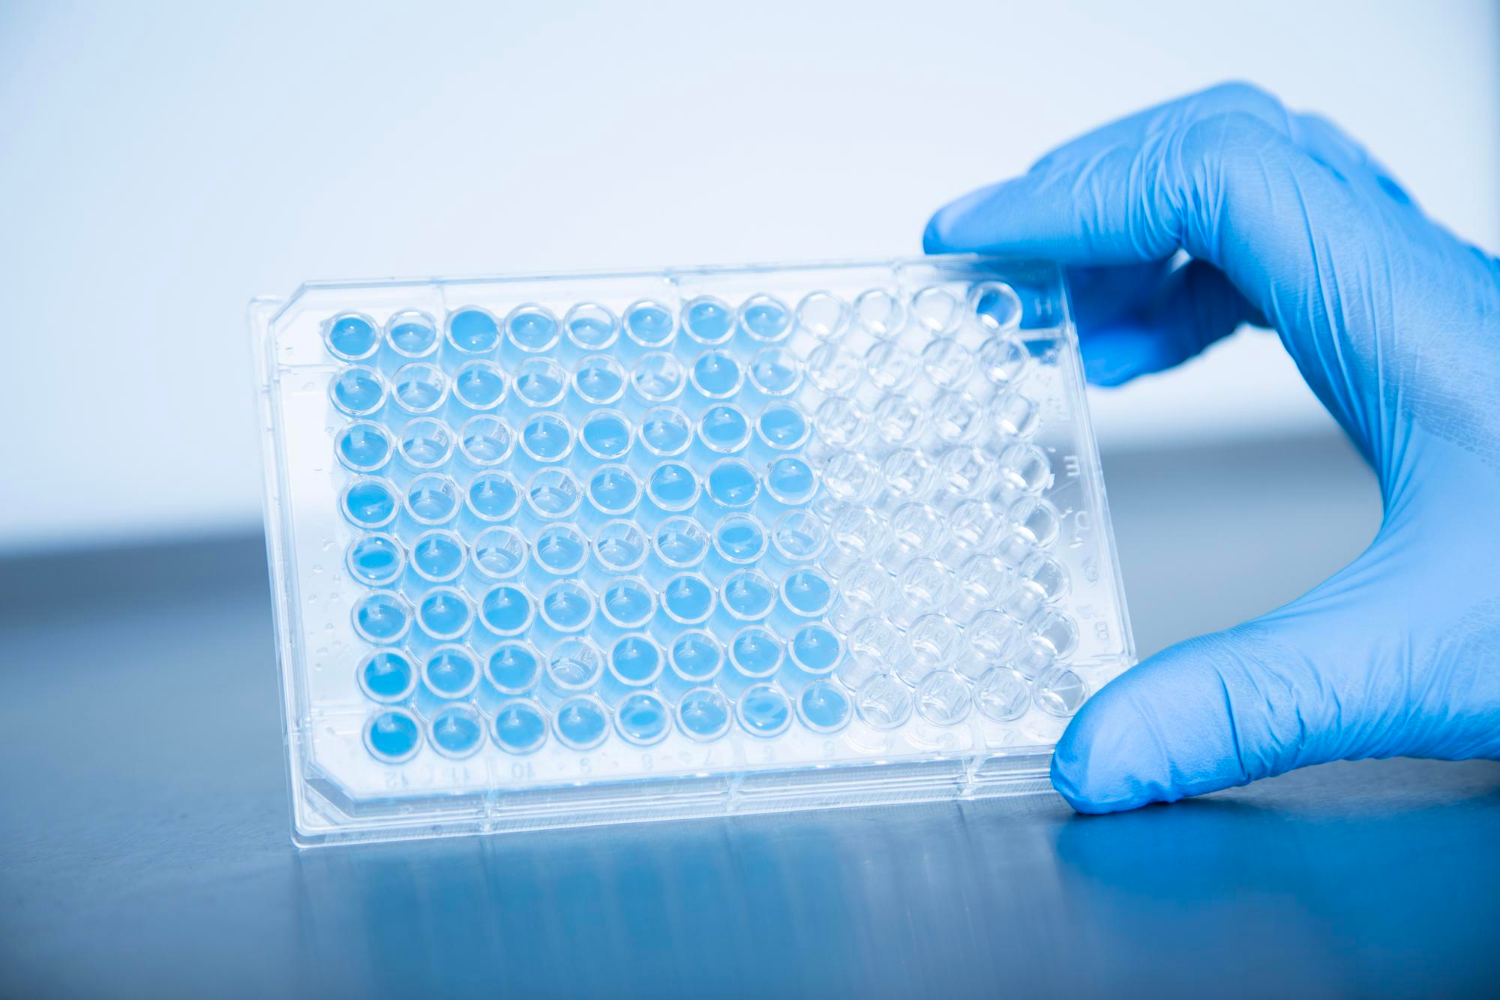
In busy teaching, research, food and pharma labs, there is rarely time to repeat plates because the seal failed. That is where PCR plate sealing film comes in. It is a simple change, but it can protect your samples, reduce re-runs and help you trust what you are seeing on the screen.
During cooler months, many labs see:
- Heavier PCR workloads for respiratory and flu season
- More high-throughput runs on 96 and 384 well plates
- Tighter reporting timelines and quality demands
The good news is that evaporation control is one of the easiest parts of your workflow to tighten up, and it starts with how you seal your plates.
How Evaporation Undermines PCR Accuracy and Reliability
Thermal cyclers work hard on your samples, moving them through fast temperature changes again and again. That same cycling also encourages evaporation, especially if the seal on the plate is not perfect.
The main drivers of evaporation in PCR runs are pretty simple:
- Rapid and repeated temperature shifts during cycling
- Uneven heating across the block, especially at the edges
- Poor or inconsistent sealing of plates, leaving tiny gaps
Even a slight volume loss can change the concentration of primers, probes, nucleotides and template. That can lead to:
- Shifts in Ct values that are not due to biology
- Edge effects, where outer wells behave differently to inner wells
- Inconsistent amplification curves and noisy baselines
- Standard curves that look fine on paper but do not hold up in real work
For education labs, that can mean confused students and messy teaching data. For research groups, it can mean results that are hard to repeat or publish. In food and pharmaceutical testing, it can mean delayed release, extra checks and unnecessary QC questions. Every extra run means more reagents, more plates, more plastic tips and more time at the bench.
Why PCR Plate Sealing Film Beats Traditional Lids
Many labs still rely on rigid plate lids or even mineral oil on older workflows. These methods can help a bit, but they do not always give consistent, tight sealing across every well.
Compared with other options, PCR plate sealing film generally offers:
- Better evaporation control than loose-fitting rigid lids
- Lower contamination risk than mineral oil overlays
- Less mess and waste and a cleaner, easier workflow
A good adhesive PCR plate sealing film sticks evenly across the whole plate. That consistent, airtight contact over each well helps minimise edge effects and keeps all wells under the same conditions. The film flexes slightly with the plate as it heats and cools, instead of lifting or gapping at corners.
Modern films are designed to fit common plate formats, including:
- 96 well plates used in most teaching and diagnostic labs
- 384 well plates for higher throughput platforms
- Compatible plate heights and skirt types often used in Australian research, food and pharma facilities
When the film is matched properly to the plate and cycler, you get a smoother thermal profile, fewer surprises at the edges and more uniform amplification across the plate.
Choosing the Right PCR Plate Sealing Film for Your Lab
Not all sealing films are the same, and choosing the right one for your workflow makes a big difference. A few key things are worth thinking about before you standardise.
For qPCR and real-time work, optical clarity is a big factor. Films for these runs need to:
- Be clear enough for accurate fluorescence reading
- Avoid haze or bubbles that could affect signal
- Sit flat on the plate so the instrument can read each well cleanly
For endpoint PCR or sample storage, you might care more about:
- Stronger adhesion for longer storage or tougher cycling profiles
- Temperature resistance across your full cycling program
- Chemical resistance if you are working with certain solvents or cleaning steps
Automation adds extra needs again. If you use robots or multichannel heads that pierce the seal, consider:
- Pierceable films that reseal reasonably well around tips or needles
- Adhesives that do not gum up tips or sensors
- Films that do not leave residue on plate rims or blocks
It is also worth matching film types to plate materials, such as polypropylene or specialty plastics, so the adhesive bonds cleanly without peeling or slipping. Local stock and support help here, especially for Australian labs that want to standardise across sites and avoid last minute substitutions when workloads spike.
Best Practice Tips to Get a Perfect Seal Every Time
Even the best PCR plate sealing film will struggle if the plate is messy or the application is rushed. A simple, repeatable sealing routine can save you from a lot of random noise in your runs.
A basic step-by-step approach might look like this:
- Fill the plate carefully and avoid overfilling wells
- Check for splashes or drops on the rim or between wells
- Place the film gently, starting from one edge and laying it across
- Use firm, even pressure or a roller to press the film down
- Pay extra attention to the edges and corners of the plate
Some practical tips many labs find useful:
- Work in a clean, dry room so condensation does not get under the film
- Avoid touching the adhesive side with gloves, as this can weaken the bond
- Use a sealing paddle, roller or even a flat card to spread pressure evenly
- Hold the plate up to the light to spot bubbles, wrinkles or lifted spots
If you are seeing issues like film lifting in the cycler, adhesive residue or odd thermal profiles, it can help to:
- Check that the film is rated for your temperature range and cycler type
- Confirm that the plate matches the recommended format for that film
- Make sure plate rims are clean and dry before sealing
- Run a quick test plate with water to see how much volume loss occurs at different corners and edges
Small tweaks at this step can save a lot of time and guesswork once your real samples go on.
Strengthening Your Winter PCR Runs with Smarter Sealing
When winter testing ramps up across Australia, most labs look for simple ways to keep results steady and repeatable. Tightening up plate sealing is one of the easiest wins. Good PCR plate sealing film helps protect precious samples, keeps Ct values more consistent and cuts down those frustrating re-runs that chew up staff time.
A short internal review before the busy season can help. Many teams:
- Compare evaporation on their current seals versus new films
- Check performance on both inner and edge wells
- Confirm optical performance for qPCR instruments
- Update internal SOPs so everyone seals plates the same way
With a curated range of PCR plate sealing film, local stock and practical support for Australian conditions, we at LabChoice Australia focus on helping labs match films to their plates, cyclers and day-to-day workflows. When your sealing is sorted, your PCR runs through winter feel a lot calmer, and your data is that bit easier to trust.
Streamline Your Lab Workflow With Reliable Plate Sealing Solutions
Choose the right PCR plate sealing film to protect your samples, reduce contamination risk and keep your assays consistent. At LabChoice Australia, we work with you to match film performance to your specific PCR and storage conditions. If you are unsure which option suits your application, simply contact us and our team will help you make a confident choice.