Keep Your Plates Clean, Clear and Culture Ready
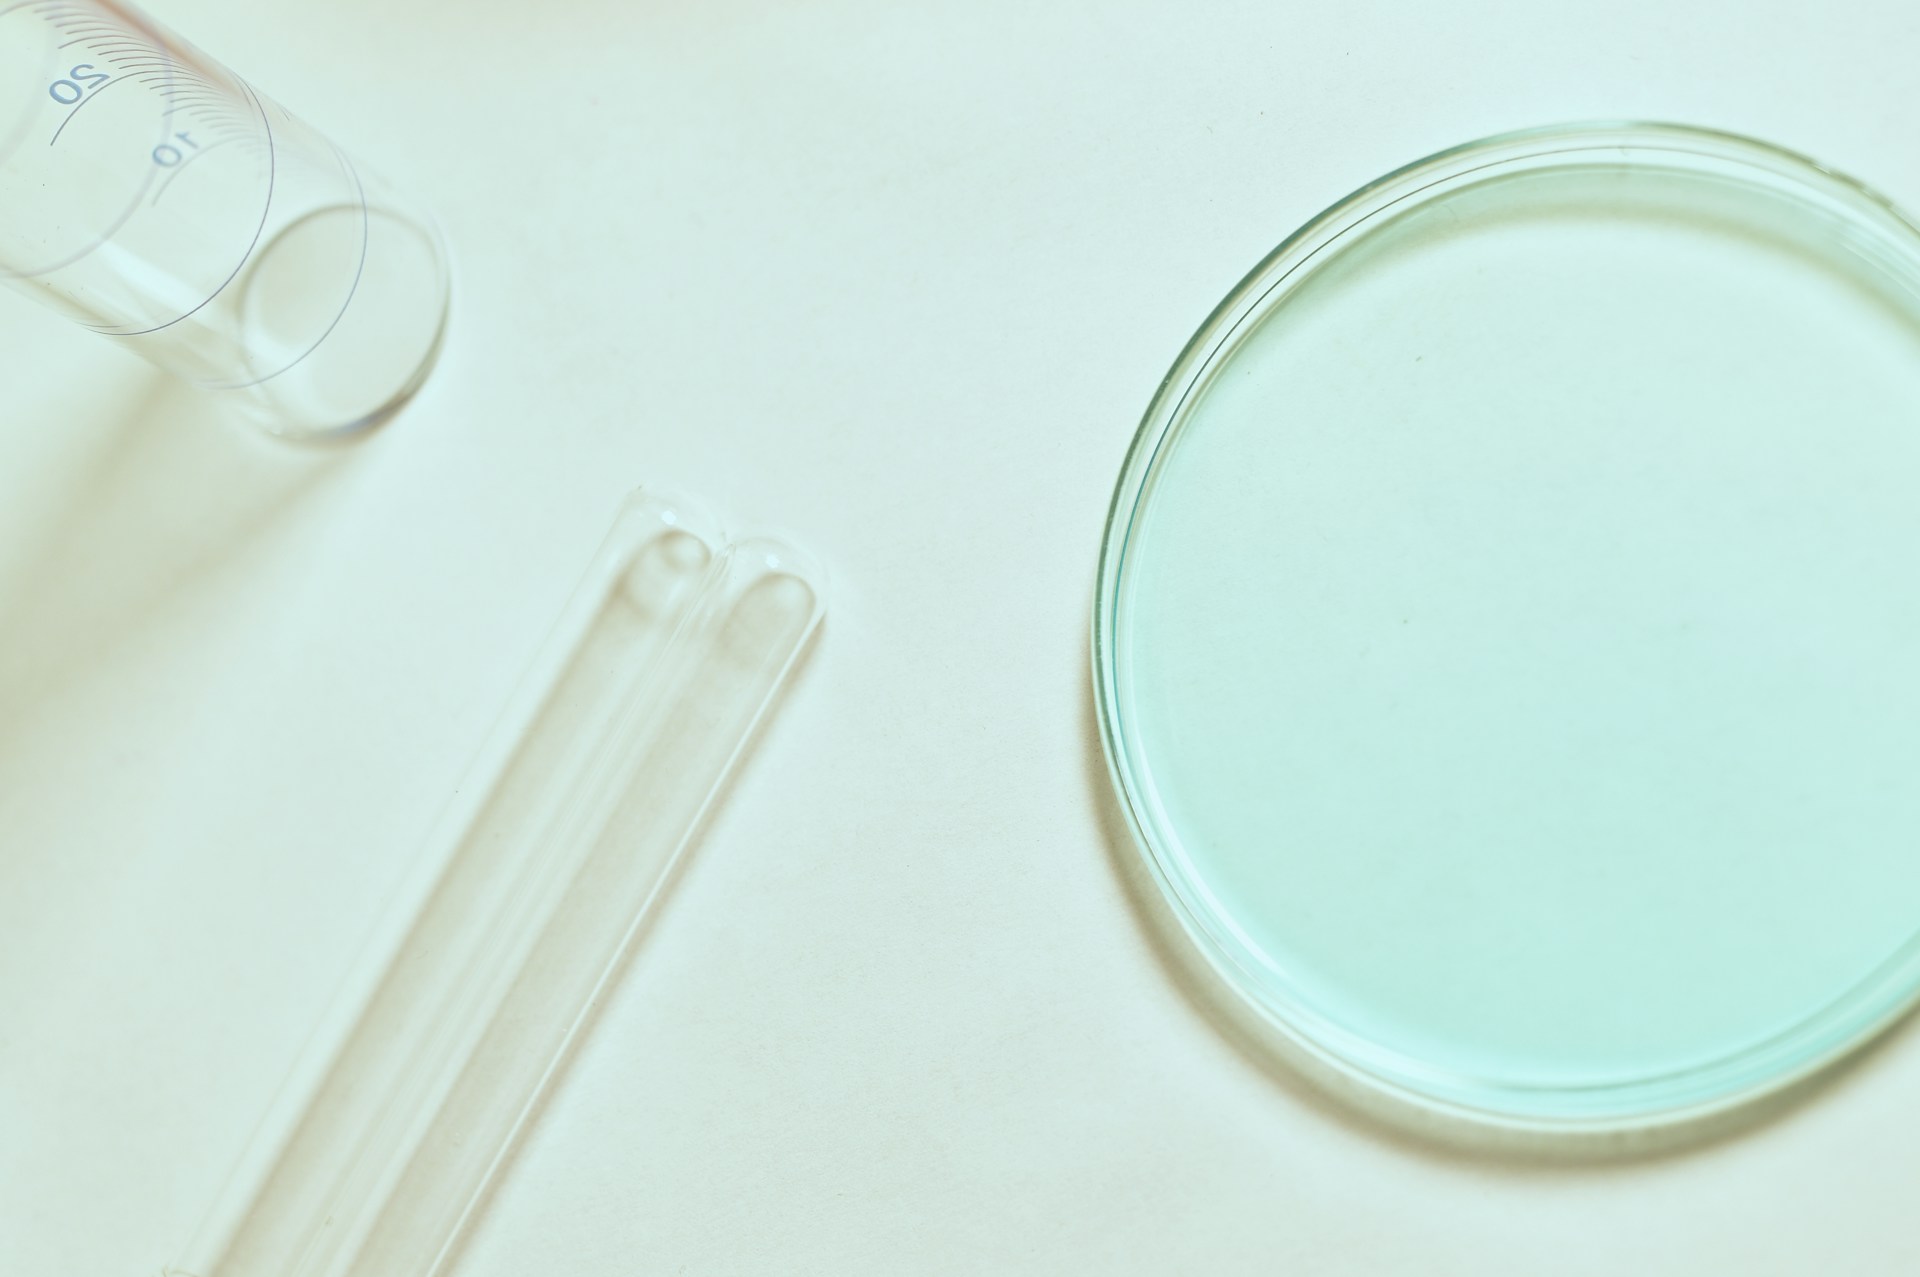
Good Petri dish habits sit right at the heart of good microbiology. If our plates are clean, dry in the right way and stored well, we get clearer colonies, better reproducibility and less stress when audits and checks come around. That matters in teaching labs, food and beverage testing, pharmaceutical QC and research labs all across Australia.
Many teams deal with the same annoying problems. Random contamination on plates that should be sterile. Lids fogged with condensation so colonies are hard to count. Agar that shrinks and cracks during longer incubations or over school breaks, especially when the weather turns cooler. In this guide we walk through practical, step-by-step ways to handle and store laboratory-grade Petri dishes so you keep contamination low, control condensation and stop media drying out, even through a cold Australian winter.
Choosing the Right Laboratory-Grade Petri Dishes
Before we talk about technique, we need the right plates on the bench. Not all dishes are the same, and the design makes a real difference to how they behave in the incubator and the fridge.
Plastic disposable dishes are common in busy labs. They are light, easy to stack and arrive sterile, which is handy for high-throughput or teaching. Glass BORO 3.3 dishes can be washed and reused; they handle heat well and feel nice and solid in the hand. Each style has pros and cons:
- Plastic: great for single use, less cleaning, often with vents for gas exchange
- Glass BORO 3.3: durable, heat resistant, can be dry sterilised or autoclaved, good for long-term workflows
- Tight lids: help slow drying but can trap moisture if you have lots of condensation
- Vented lids or raised stacking rings: help airflow and reduce heavy condensation, but can let agar dry faster in low humidity
Quality and sterility matter too. Certified sterile plates with lot labels help you trace issues if contamination pops up. Consistent manufacturing makes plate depth, flatness and lid fit more uniform, which means your results change less from batch to batch, something many NATA aligned labs care about.
Different jobs call for different dishes. For example:
- Education labs: sturdy plates that are easy for students to handle
- Food and beverage testing: plates that stack well in incubators for routine counts
- Environmental monitoring: plates with secure lids for transport around sites
- Pharmaceutical QC: high clarity, tight quality control and traceable sterility
Think about incubation time, temperature and where plates will be stored or transported before you choose your main laboratory-grade Petri dishes.
Aseptic Handling Habits That Stop Contamination Early
Even the best plates will not save you if your handling is messy. A simple, calm setup before you pour or inoculate makes a big difference.
Set up the workspace so you are not reaching across open plates. On a clean bench or inside a biosafety cabinet, lay out:
- Flame or micro incinerator
- Alcohol wipes or spray
- Sterile loops, spreaders and pipette tips
- Stacks of plates and media close by, but not blocking airflow
Wipe the bench, let the flame or cabinet airflow stabilise, then only bring plates out of their sleeve as you need them. When opening a plate, lift the lid just enough, like a clam shell, and keep it close to the base. Hold the plate near the flame or within the clean airflow. A slight angle helps push any drafts away from the agar surface.
When streaking or spreading, avoid waving the loop or spreader in the air. Move with clear, simple motions, then close the lid again quickly. Try to keep talking over open plates to an absolute minimum and keep your head back from the work area.
Good lab etiquette matters just as much as the gear. Gloves, hand hygiene, hair tied back and clear SOPs give everyone, from first-year students to experienced techs, the same shared habits so contamination risk stays low.
Managing Condensation From Pouring to Incubation
Condensation starts at pouring, not in the incubator. If the agar is too hot when you pour, it sends steam straight onto the lid. If the room is cold, the effect is even stronger.
Aim for agar that is liquid but not steaming hard when poured. Fill to a consistent depth, usually enough to give a firm, even surface without crowding the rim. Set plates on a flat, draft-free surface so they cool evenly. Stacking them a little while they set can help keep lids warm and cut down condensation, but do not stack so high that they wobble.
Once the agar has solidified, you can let plates sit at room temperature for a short time so any surface moisture dries off. Many labs like to:
- Leave plates upright until the surface looks dry and shiny, not wet
- Then invert them so they are lid down for incubation
- Use modest stack heights so temperature is even across the pile
Incubators behave differently through autumn and winter in Australia. A cool room outside the incubator can lead to big temperature jumps each time you open the door, which feeds condensation. Try to:
- Keep incubator doors closed as much as possible
- Use trays of water or desiccant to balance humidity if needed
- Use separate incubators for different temperature ranges when you can
- Check plates after a short pre-incubation period, wipe lids if heavily fogged, and return them inverted
Small changes to how you pour and how you stack will show up quickly in clearer lids and easier colony reads.
Storing Prepared Plates Without Drying Them Out
Once plates are poured and dry on the surface, storage becomes the main problem. We want them stable and ready to go, not cracked or swimming in droplets.
For short-term storage, let plates cool fully at room temperature, then store them in stacks with the agar side up. Bag stacks or seal them in clean containers to keep dust and stray spores out. Many media types store well at fridge temperatures around normal lab cold room settings, but always follow the medium guidance from your method.
To slow dehydration:
- Do not wrap plates too tightly, a little airflow is helpful
- Use bags that are intact, with no tears
- Avoid very dry fridges where possible
- Keep stacks away from the fan outlet so they are not hit by constant airflow
Plastic plates tend to lose water a bit faster than glass, especially in low humidity fridges. Glass BORO 3.3 dishes, if sealed and stored well, can hold moisture a little better, but they still dry over time.
Transport is another point where plates get stressed. When carrying plates between campuses or production areas, use sturdy racks or containers so stacks do not slide or tip. For longer trips, insulated containers help hold a steady temperature. When you arrive, let plates come back to room temperature while still sealed, so you avoid sudden condensation on the lids.
Extending Plate Life with Smart Lab Planning
Good planning means you spend less time worrying about dry or foggy plates and more time looking at results. Batch preparation works well when matched to expected workloads.
Plan media pours around teaching weeks, production runs or research blocks. Label each batch clearly with medium type, date and any special storage needs. Then use a simple first-in, first-out system so older plates are used before newer ones.
Keep an eye out for:
- Unexpected colonies or growth in unused plates
- Heavy condensation that will not clear
- Agar that has shrunk away from the edges or formed cracks
- Plates that smell odd or look discoloured
If a plate looks off, it is normally safer to discard it than to risk poor data or failed tests.
Good procurement habits link in with this planning. Reliable access to laboratory-grade Petri dishes, sensible pack sizes and steady delivery support smoother media days and help you avoid storing plates for longer than they really should sit unused. That helps busy Australian labs, especially when semester timetables and production schedules shift with the seasons.
Streamline Your Lab Workflow With Reliable Essentials
At LabChoice Australia, we make it straightforward to equip your team with consistently reliable consumables so you can focus on results, not supplies. Explore our range of laboratory-grade Petri dishes to support accurate, repeatable work in any research or diagnostic setting. If you would like tailored product advice or help matching quantities to your project, simply contact us and we will help you choose the right options for your lab.