Stop Vortex Mixer Errors From Sabotaging Your Results
Small habits around a vortex mixer can quietly wreck good science. A tube held at a slightly different angle, a speed knob turned a little higher, or a worn rubber cup can all shift how much energy your samples receive, even when the protocol says everything is the same.
That small drift matters. It shows up as inconsistent results, weak controls, noisy class data, and repeats that no one has time for. As spring hits in Australia and Term 4 teaching ramps up, many labs see a sharp rise in sample numbers and student users. When throughput goes up, the cost of tiny mistakes grows fast.
At LabChoice Australia, we see how often vortex mixers are treated as simple on/off tools. They are not. In this article, we will walk through common, easily missed vortex mixer mistakes and share practical ways to tighten control in education, research, and industry labs so mixing supports reproducible data instead of quietly fighting it.
Misjudging Speed and Time Settings Undermines Mixing
A vortex mixer set to one favourite speed for every tube is asking for trouble. Different samples need different energy. Thick suspensions may need higher speeds or longer times to really move, while fragile samples like live cells or protein solutions can be damaged or foamed at full power.
Common speed and time problems include:
- Using maximum speed for everything, including delicate samples
- Running viscous or dense samples too briefly, so pellets are not fully resuspended
- Letting each user decide mixing time by feel instead of by a clear method
- Changing speed between repeats without noting it in the lab book
Over time these habits blur the link between method and result. In teaching labs, students may copy what they see at the bench, not what is written in the manual, and small differences become big spread in class data. In shared research labs, different groups may vortex the same assay in slightly different ways and then wonder why results do not line up.
Some simple controls help a lot:
- Write standard operating procedures (SOPs) that give speed ranges and times for each type of method
- Validate one set of vortex conditions, for each common assay before rolling it out to the whole team
- Ask everyone to record speed and time in lab notebooks and teaching notes, just like temperature and incubation time
Once speed and time are treated as real parameters, not guesses, reproducibility starts to improve quickly.
Poor Tube Handling and Loading Create Hidden Variability
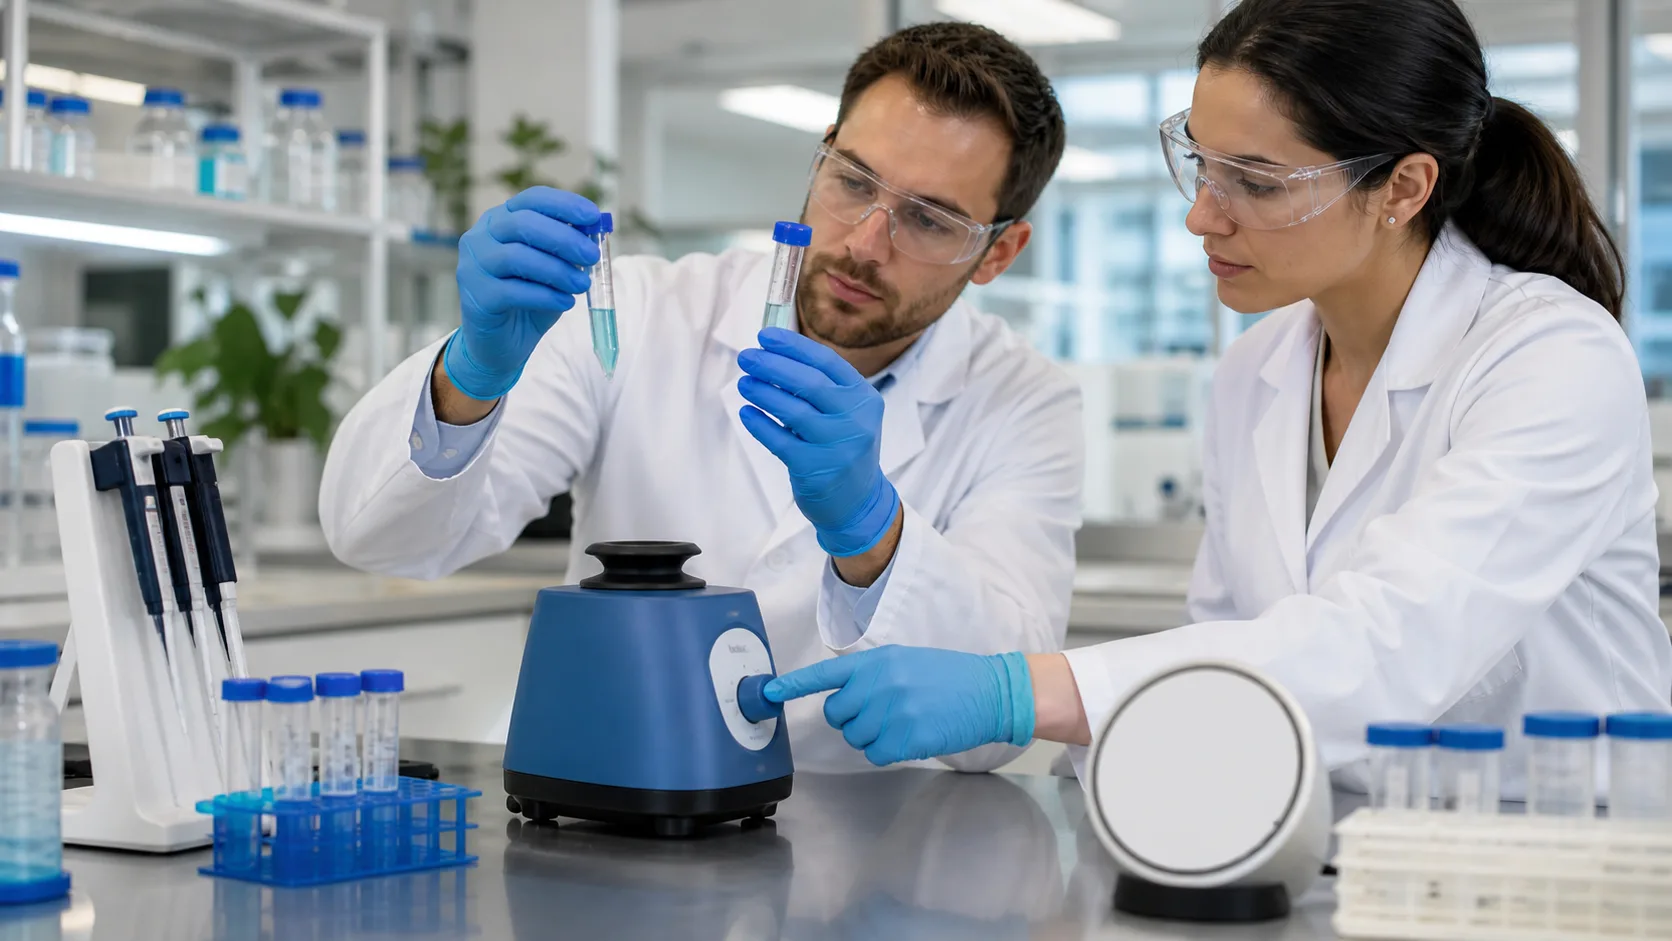
Even with perfect settings, poor tube handling can undo your good work. Vortex mixers respond to how the tube is held, how firmly it is pressed into the cup, and how full it is. If one person holds tubes straight down and another at a gentle angle, they are not giving the same mixing.
Frequent handling issues include:
- Pressing some tubes hard into the cup and barely touching others
- Holding tubes at different angles between samples or users
- Vortexing full and half-full tubes at the same setting and expecting identical mixing
- Vortexing uncapped tubes, which can lead to splashes and aerosols
Tube type and volume make a real difference. A 1.5 mL microtube behaves very differently from a 50 mL conical. More headspace often gives better vortex formation, but too much empty space can mean violent shaking instead of smooth mixing. Narrow tubes can trap bubbles while wide tubes may splash if speed is too high.
To standardise handling, it helps to:
- Define preferred hand positions, tube angles, and pressure in SOPs and teaching notes
- Use tube adapters and platforms that match the tube size (microtubes, 15 mL, or 50 mL)
- Build a quick bench demo into student and new staff training so everyone sees and practises correct handling
When people learn to treat tube position and grip as part of the method, results get easier to repeat.
Ignoring Vortex Mixer Maintenance and Calibration
A vortex mixer is often left running until something obvious breaks. The trouble is that performance often drifts long before that. Worn rubber cups lose grip, cracked feet make the unit wobble, and old controls can give different speeds at the same dial setting.
Lab conditions also matter. On a crowded bench, vibration from nearby shakers or centrifuges can change how stable the vortex mixer is. An uneven benchtop can shift the unit slightly during use. Seasonal changes in temperature may soften plastics and change how tightly caps seal, which affects splashing and evaporation during mixing.
A basic care and check routine can catch most problems:
- Wipe down the body and mixing head often, especially after spills
- Inspect rubber cups, tube adapters, and feet for wear, cracks, or hardening
- Use a simple reference solution or visual check to confirm that a known setting still gives the expected vortex pattern
- Log these checks with other instrument maintenance so patterns can be seen over time
Treating the vortex mixer like real lab equipment, not bench furniture, keeps mixing energy more consistent month-to-month.
Overlooking Sample Type, Volume, Container Design and Safety
Not every sample likes the same kind of vortexing. Cells, proteins, viscous reagents, soils, and environmental samples all respond differently. Some need sharp, strong mixing to disperse clumps. Others need gentle or pulsed mixing to avoid lysis, foaming, or denaturing.
Key factors to watch:
- Sample type and sensitivity (live cells, fragile proteins, volatile solvents)
- Fill volume and headspace (which change how well a vortex cone can form)
- Container shape (narrow tubes, wide tubes, microplates, flasks)
If volume is too low, the liquid may just rattle in the bottom. If it is too high, there may be little movement at all. Microplates and flasks usually need special platforms to keep them secure and to spread energy more evenly.
Some practical guidelines:
- Match vortex accessories to the container, tube racks, plate platforms, or foam inserts
- Optimise sample volume for each method so a clear vortex forms without splashing
- Write down validated mixing settings for each assay and container type so others can repeat them
Safety ties into all of this. Unsafe vortexing not only risks people, it also damages data. Common safety problems include:
- Vortexing volatile or flammable solvents in open tubes without proper caps or containment
- Running the mixer right on the bench edge where it can move or be knocked off
- Using cracked or old tubes that may fail when shaken
These issues can cause:
- Splashes and leaks that change sample volume and concentration
- Aerosols that spread contamination across tubes or into the room
- Lost samples that need to be repeated, along with the entire experiment
Simple risk control habits help:
- Wear suitable PPE and use sealed tubes for volatile or biohazardous samples
- Place vortex mixers away from bench edges and heavy traffic paths
- Add quick safety checks to training, such as inspecting tubes and caps before mixing
Build Vortex Mixer Best Practice Into Every Protocol
When we treat vortexing as a controlled step, not background noise, everything else in the method becomes easier to trust. Clear speed and time settings, consistent tube handling, basic maintenance, and sample-aware mixing all work together to support reproducible work in teaching labs, research spaces, and industrial QC lines across Australia.
As spring classes and project deadlines approach, it is a good time to review vortex mixers, accessories, and everyday habits. Tuning these small details now helps every repeat, every student practical, and every production batch land closer to the same reliable result, which is exactly what good lab practice is all about.
If you are ready to streamline your sample prep and get consistent results, explore our vortex mixer options tailored to Australian labs. At LabChoice Australia, we focus on practical, durable equipment that fits real-world lab routines and budgets. Talk with our team about your applications so we can recommend the right setup and accessories. If you would like personalised advice or a quote, simply contact us.