Smarter Lab Setups for Busy Spring and Summer Workloads
Getting your lab plasticware right can make a big difference when the workload ramps up in spring and summer. Teaching blocks, new projects and field trips all hit at once, and suddenly every beaker, tube and bottle is in high-rotation. Mixed setups with both glass and plastic can work very well, as long as each material is doing the job it is best at.
In busy terms, the main challenge is balance. You want durability, safe handling and good sample integrity, without wasting time or blowing the budget. Glass gives you strength around heat and solvents, while plastic gives you speed, safety and lighter gear. When those worlds meet on one bench, little mistakes like the wrong plastic on a hot plate or the wrong cap on a glass bottle can cost you time and samples.
At LabChoice Australia we see this mix every day across teaching, research and industry labs around the country. With broad ranges of glassware, lab plasticware, equipment and consumables in local stock, we focus on helping labs get ready before peak term and field season. In this guide we walk through where plasticware really shines, how to keep it compatible with your glassware and how to stretch your labware budget without cutting corners on results.
When Plastic Beats Glass in Real-World Lab Routines
Glass will always have a strong place on the bench, but there are many times when plastic is simply the better choice. It usually wins on impact resistance, weight and speed of handling, especially when things get busy.
Compared with glass, plasticware often gives you:
- Lower breakage risk in crowded teaching labs
- Faster handling, because it is lighter and less fragile
- Safer use in the field or near students
- Easier stacking and transport in coolers or storage crates
Glass still leads for high heat, strong solvents and long-term reusability. It is usually the safer call for hot plates, open flames and aggressive chemicals. But when you are dealing with big groups of beginners or long days on the road, plastic has strong advantages.
A few common situations where plasticware can be the better tool:
- Teaching labs where breakages are common, especially with larger class sizes in spring
- Field sampling in hot Australian conditions, where glass is heavier and more likely to break on rough ground
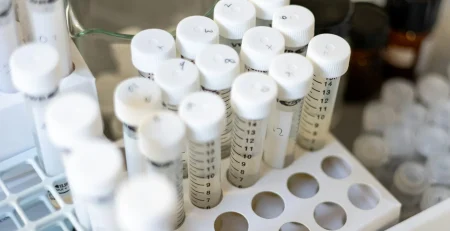
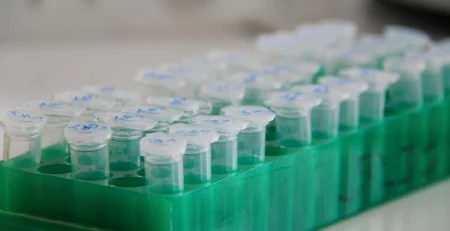
- High-volume prep work, like filling hundreds of tubes or bottles, where light plastic speeds up handling
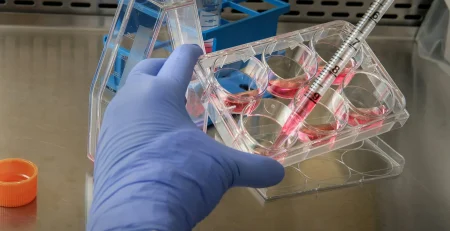
- Sterile single-use workflows, such as microbiology or tissue culture, where disposables help control contamination
Seasonal factors matter here. Warmer weather means more outdoor work, more cold chain transport and more chances for drops and bumps. Lightweight plastic bottles, tubes and containers can make transport safer for both people and samples. In bigger spring classes, switching some routine steps to plastic can reduce stress on staff who are managing glass safety at the same time.
Choosing the Right Lab Plasticware for Mixed Setups
Not all plastics behave the same, especially once you add heat, cold or chemicals. When you are mixing glass and plastic on the same bench, knowing the common plastic types is very helpful.
Some of the main plastics you are likely to see:
- PP (polypropylene): Often autoclavable, a good general-purpose choice, handles many chemicals fairly well
- PE (polyethylene): Tough and flexible, often used for bottles and wash bottles, limited temperature range
- PS (polystyrene): Clear and rigid, common for petri dishes and some tubes, not good with many solvents or high heat
- PC (polycarbonate): Very clear and strong, some grades can handle higher temperatures, watch out for stress-cracking
- PTFE: Very high chemical and temperature resistance, often for specialist applications like stir bars and some tubing
When you are picking lab plasticware to sit alongside glassware, think about:
- Sample type, including pH, solvents and any oils
- Sterilisation method, such as autoclave, chemical disinfectants or UV
- Storage time, short-term use in class or longer-term storage in cold rooms or freezers
- Size and joint compatibility with your existing glassware, including caps, stoppers and adapters
There are also a few pitfalls that can trip up even careful labs:
- Putting non-autoclavable plasticware into dishwashers or autoclaves, which can lead to warping or clouding
- Using plastics that may leach into samples when exposed to strong solvents or high temperatures
- Mismatching caps or adapters between plastic and glass, leading to leaks or poor seals
- Using unclear or faded labels, which can confuse students and new staff about what is disposable, what is sterile and what belongs where
A short internal guide that lists which plastics can go into which washer, which are single-use and which match which glass joints can save a lot of guesswork.
Streamlining Workflows in Mixed Glass and Plastic Labs
Once you know what each material is good at, the next step is laying out the lab so it supports that. Zoning your space can cut down on cross-contamination and handling errors, especially in busy weeks.
A simple way to think about zones:
- Prep zones: Mix glassware for measuring with plastic consumables for transfers
- Heating zones: Mostly glass, with clear signs that plastic must be heat-safe or kept away
- Sterile zones: Planned use of sterile plasticware and a small set of glass that can be reliably sterilised
- Storage zones: Plastic bottles and tubes for shorter-term or field use, glass for long-term stable storage
- Waste zones: Clear bins for broken glass, general plastic, contaminated waste and recyclables
Labelling and colour coding can make a big difference. For example:
- One colour tape for single-use plastic and another for reusable glass
- Clearly marked racks for autoclave loads, so only the right plastics are included
- Separate shelves or tubs for plasticware that is field-ready, so staff do not grab the wrong items in a rush
Cleaning and sterilisation workflows are easier when you decide up front:
- Which items will always stay as reusable glass
- Which plastic items are strictly single-use
- Which cycles belong to which loads in dishwashers and autoclaves
Planning regular runs that match your teaching timetable or project cycles helps prevent last-minute scrambles when a full class turns up and half the glassware is still waiting to be washed.
Safety, Sustainability and Budget in a Hybrid Lab
Running both glass and plastic in the same lab raises questions about safety, sustainability and budget. The good news is that a bit of planning can help with all three at once.
Key safety points in hybrid setups include:
- Reducing sharps injuries from broken glass by switching some high-risk tasks to plastic
- Matching plastics carefully with chemicals so you do not see softening, leaks or clouding during use
- Avoiding the temptation to reuse plastic items that were only ever meant to be single-use, especially in teaching labs
On the environmental side, it is about picking your moments. Reusable glass is often the better choice for core tasks that happen every day and do not need disposable sterile surfaces. For work that is hazardous, hard to clean or highly sensitive to contamination, lab plasticware is often the safer and cleaner path, even if it is single-use.
You can support sustainability by:
- Choosing reusable glass for routine tasks that fit your cleaning capacity
- Selecting plasticware that fits into your local Australian waste streams, including recycling where possible
- Reducing unnecessary disposables in simple teaching activities where glass works just as well
From a budget point of view, glass is strong for long-term, repeat tasks, because it can be washed and used again many times. Plastic shines when it lets you move faster, stay safer or avoid complex cleaning between samples. Buying the right mix of durable glass for everyday use and bulk consumable plasticware for peak periods and critical sterile work often gives the best balance.
Planning Your Next Term’s Labware Upgrade
The quiet time before a new teaching term or a spring research push is perfect for taking stock of your glassware and plasticware. A simple bench-walk can tell you a lot.
A quick internal checklist might cover:
- Gaps in common items, such as missing sizes of bottles, beakers or tubes
- Breakage hotspots, for example areas where glass often gets knocked or dropped
- Safety concerns, such as cracked glassware left on shelves or unlabelled plastic containers
- Confusing overlaps, like plastic and glass versions of the same item stored together without clear labels
Once you know what is really happening on the bench, you can set up standard kit lists for common experiments. These lists can spell out:
- Which items are glass and which are plastic
- Which items must be sterile or single-use
- Which sizes or joint types align across glass and plastic pieces
Standard kits make ordering easier, help new staff and students learn faster and keep results more consistent between runs and classes.
At LabChoice Australia we support education, research and industry labs across the country with a wide range of glassware, lab plasticware, equipment and consumables. Our online catalogue makes it simple to compare product details so you can match plastics and glass to your current workflows, and our local presence means Australian labs can plan upgrades with reliable supply in mind.
Equip Your Lab With Reliable Plasticware Today
Choose LabChoice Australia for quality, compliant lab plasticware that supports accurate, repeatable results. We help you match the right consumables to your workflows so you can focus on the science, not the supplies. If you need guidance on product selection, specifications or bulk ordering, simply contact us and our team will be ready to help.